In this post on “How to renovate your BTO HDB yourself: Part 2 – Process Flow“, I will show you the overview of the whole renovation process which is practiced by experienced contractors or Interior Designers. Some of the steps might defer from others depending on individual working style. To have a recap on “How to renovate your BTO HDB yourself: Part 1” which talks about the prerequisites needed, you can go to this link.
Process Flow
- Step 1: Install aircon pipping, city gas pipping and any electrical alteration work: This is usually the first step before anything can be done. The reason is to get all the pipping, wiring and casing ready so that the painter is able to paint over and over them up nicely. Some of you might wonder why do we only fixed the pipping and wiring but not the aircon blowers, compressor and lighting. The reason is that if those items are fixed, the painter will not be able to do a nice finishing around the area where the fixtures are fixed. Therefore, you will need to meet the aircon installer to discuss with him on how to run the pipping and locations of the aircon blower. Subsequently, you can arrange the meeting on the same day with the electrician to discuss on any power point or lighting point changes. This is especially important if you are installing false ceiling with downlight. For city gas pipping, you can schedule an appoint via the city gas website or call them 1800 555 1661 to make an appointment. Before you install the city gas installer arrived, you must at least know where is your hob and hood location so that you can tell the installer where to lay the pipe.
- Step 2: Measure windows for yard and window grills for the rest of the house: After the measurement, it will take the window contractor about a week to measure the windows and the grills. If you are install window at the yard, you will need to price floor plan to the window contractor to apply for permit. Window grills are exempted. Most window contractors use the same catalog as Wan Sern, one of the biggest contractors in the industry. Click here to see all the windows and grills designs. Please do your homework first before meeting the contractor so that discussion will be more efficient and effective.
- Step 3: Buy your bath, kitchen and lighting accessories: There are plenty of shops in Bendemeer, Balestier Road and Joo Chiat area. Before you go shopping, you will need to know what to buy. I will show you more details with my own examples. Do arrange for delivery before carpentry measurement and the installation of lighting. The carpenter must know what type of kitchen sink, hob and hood you will be using.
- Step 4: Initial painting works: With all the pipping and electrical works completed, the painter is ready to do his work. This will usually takes a day or 2 depending on number of workers, size of house and painting requirements. You will also need to do your homework on the colour selections by going to the Nippon Paint or Dulux website.
- Step 5: Carpentry measurement: Before you can discuss any carpentry works with the carpenter, you must know what you want and the design of your carpentry. You can go to my previous post on carpentry for more information. Carpentry delivery and installation will usually takes 1 to 2 weeks. You can go to EDL, Lamitak or Formica for all the laminates selections. Do take note of the difference in price for the laminates. You can also request hardcopy samples from your carpenter.
- Step 6: Kitchen top measurement once all the carpentry are completed: The commonly used kitchen top are solid surface or granite top. The contractor will usually take less than a week for delivery and installation. As for the colour selection and the profile of the worktop, you can ask the contractor for samples or go to their website.
- Step 7: Installation of lightings, aircon blowers and plumbing works: Do remember to make sure all the light accessories are delivered. The electrician will install the lightings as well as connect the hood and oven.
- Step 8: After everything is installed, the house is ready for final painting and cleaning.
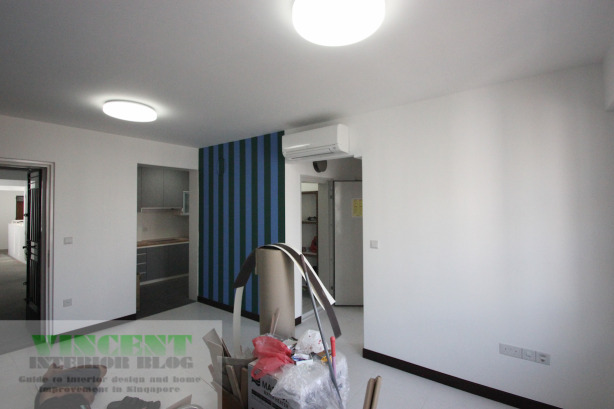
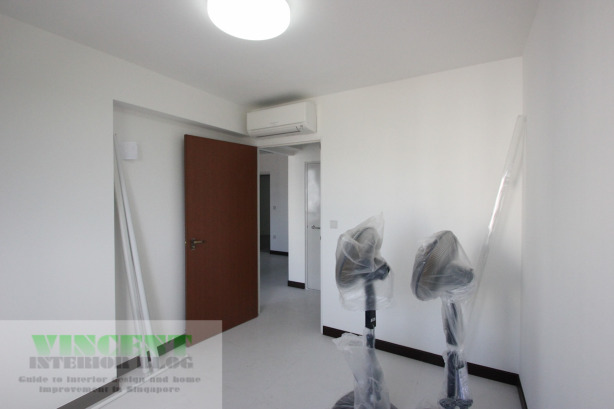
This is just the overview and I will follow up with more details in the coming posts. There is just too much information and knowledge that can be shared within one post. Breaking up the information will allow you to digest the information easily. The following pictures show the current stage of my dad’s house. Its in the final phase and will be completing soon.
Current condition of my dad’s home


Tags: 3 room HDB, DIY